Language
fender
-
The Hottest Fender Stratocaster Parts And Accessories
 Lose the tip of your tremolo arm? Are your tuners getting a little rusty? From neck plates to nuts and a whole lot more, we carry a huge selection of genuine Fender replacement parts that feature the same high-quality construction and specifications as those found on the original factory instruments. If you're in the need for an authentic Fender Strat part, you've come to the right place. Take a look below to see just a small selection of the of the best Strat parts and accessories that ProAudioLand has to offer. Continue reading →
 -
Fender Vintage 57/62 Stratocaster Pickup Set Review
 The Original 57/62 pickups set is Fender's in-house answer to single-coils that aim to deliver the vintage-Strat sound, feel and vibe in a relatively inexpensive package. Reversed engineered from a 1963 Stratocaster, these pickups can be found on the company's American Vintage Strat model. With so much competition in the realm of pickups that aim to deliver vintage Strat tone from big brands and boutique manufacturers alike, how does Fender's own set fair? Surprisingly well, actually! Continue reading →
 -
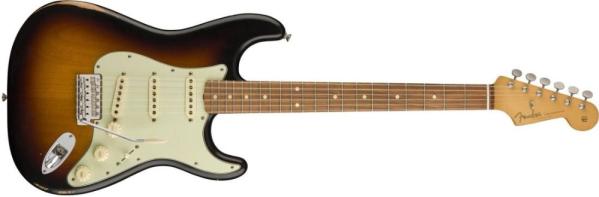
An Ode To The Fender Stratocaster Electric Guitar
 When it comes to choosing the guitar that I would use in recording, performing or anywhere, I want it with the utmost attention to the following details: tonal quality, wood, bridge intonation, pickups, and shape of the guitar and its weight. I want a guitar that has a soft tone, something that can adapt to the blues, rock and roll and another genre. I also want a guitar that uses alder or any medium, not so dark, not so light wood type. I also make sure that the action and the intonation are correct. However, this thing here varies and depends mostly on the way you set up the guitar. I want a real vintage guitar and look. This is why I prefer the Fender Stratocaster more. And not just me, which includes the millions of Strat owners around the world. Whether you are a professional guitar player or just an ordinary guy who plays guitar, you would love. Continue reading →
 -
The Differences Between American Standard And New American Professional Fender Electrics
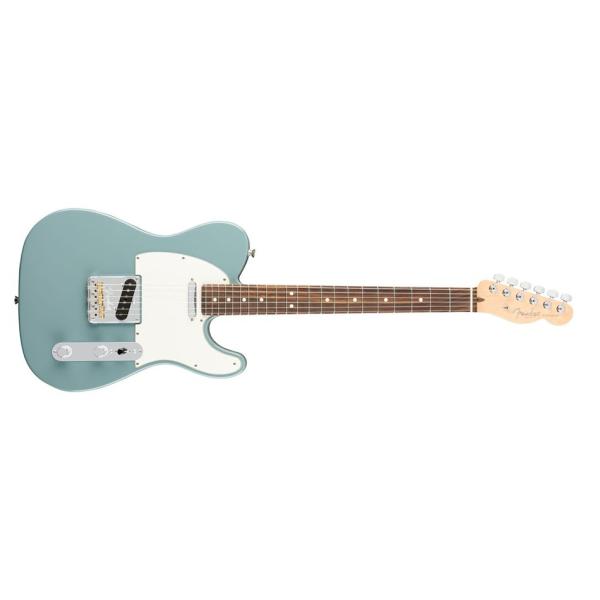 On January 2017, Fender officially launched their brand new American Professional Series of electric guitars. This flagship line was made to replace the American Standard Series, first introduced in 1987. And while the American Standard Series is a highly popular option for players of all ilk, the Professional series aims to give Fender electric guitars and basses a modern tune-up while retaining many of the beloved features from the old line. It also adds a the Jazzmaster and Jaguar electrics into the fold, along with the Stratocaster, Telecaster, Precision Bass and Jazz Bass from the old line. All in all, this new line features 92 different instruments when colors and other various options are taken into consideration. Below, we look at what the American Professional Series brings to the table, the future of the American Standard line and the differences between the two. Continue reading →
 -
Video: Breaking Down The Fender Bassbreaker Amp Series
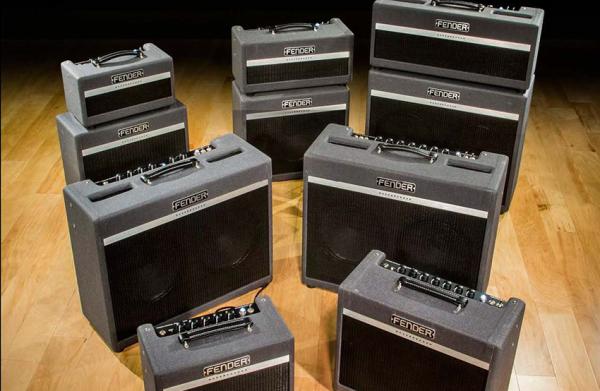 Taking a page from the legendary amp designs that were inspired by their own early creations in the first place, Fender's Bassbreaker series is an ode to classic British amplifiers. When they were first released, the entire series was impressive, to say the least, especially when you consider the quality Fender was able to put into these machines for the price. With models featuring Celestion speakers and EL84 tubes, these are not your typical Fender tube amps. In our own Bassbreaker 18/30 review, we found the tube combo to be particularly impressive. Continue reading →